


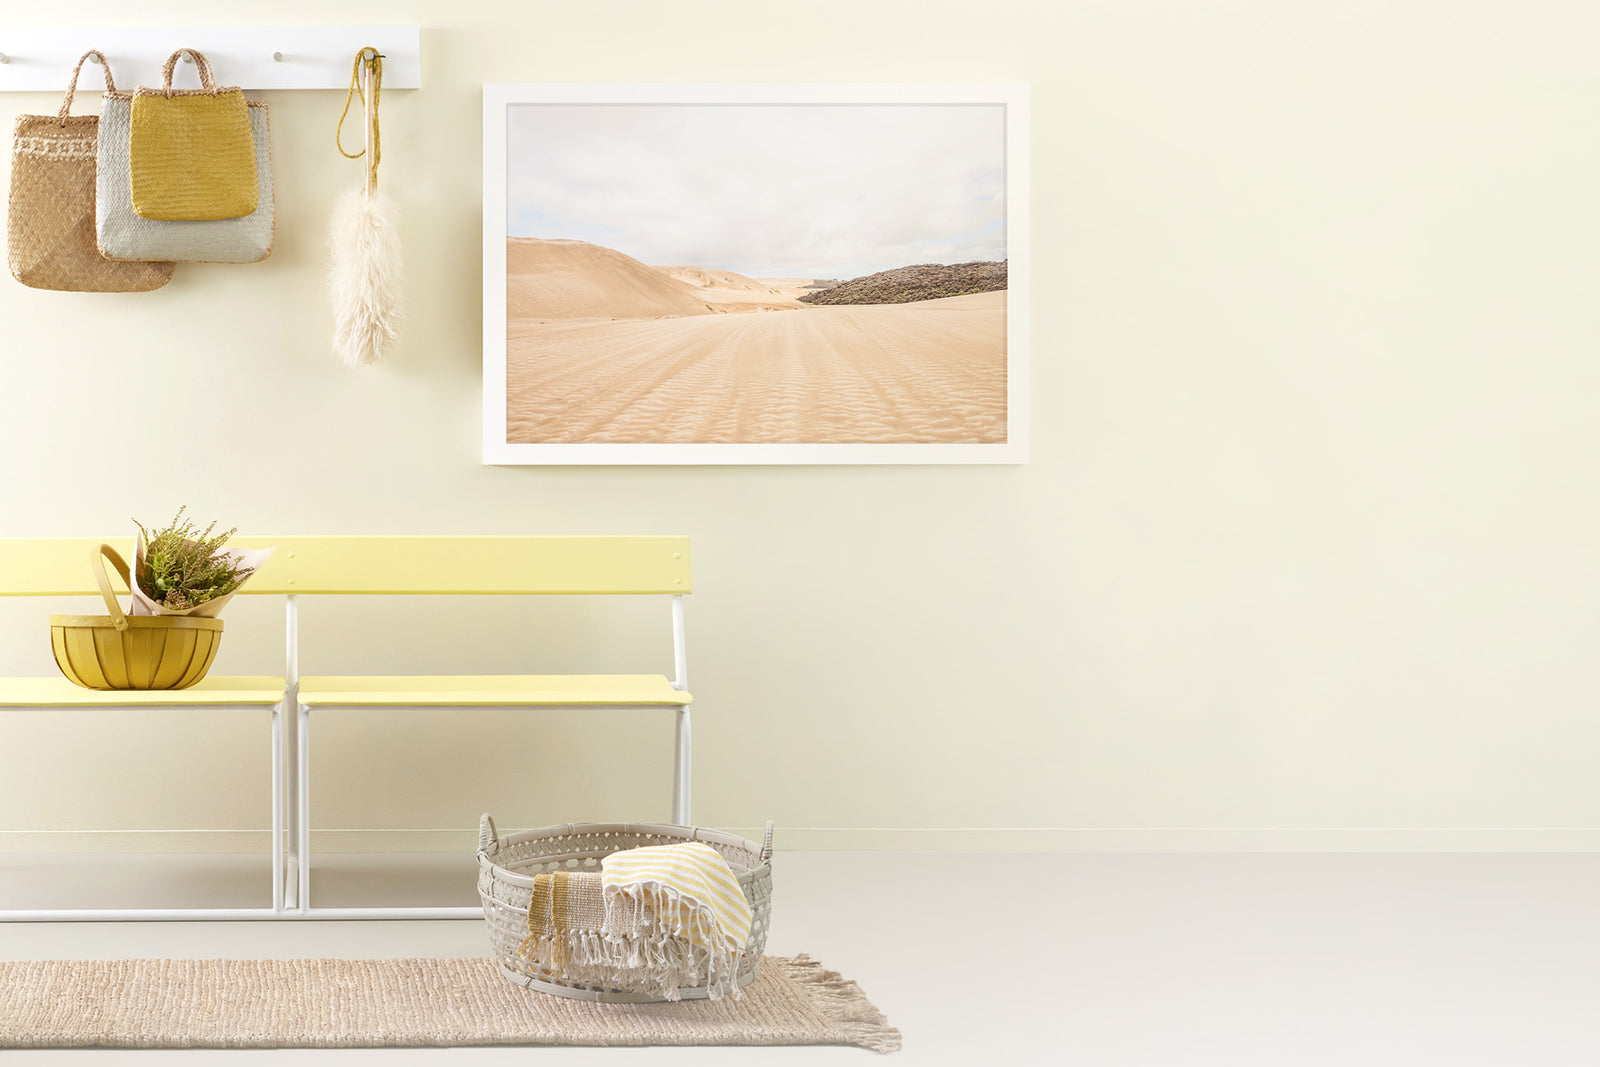

Who says you need to be a professional framer to get that fancy gallery look? We have all the simple tips and tricks to help make framing your art prints at home a quick and easy job, with stellar results.
Framing is a key step to protecting your fine art print against damage, to give it a polished, finished look and to enhance the visual impact of the art…basically it’s gonna look really really good if you frame your fine art print.

You can read more on How to care for your fine art print at home? in this helpful blog post.
As a bonus, with any purchase of a blank frame at endemicworld you get a handy framing kit that includes all the screws, hooks and string to put the frame together and some handy instructions on how to frame it and have it looking a million bucks.
Okay, let’s get into the framing, this is what you’ll need to get the job done:
- endemicworld framing kit
- blank frame
- a soft cloth
- philips head screwdriver
- ruler
- craft knife
- masking tape (optional)

Step 1: Get the backing out and get ready to frame!
First things first, take out the foam core backing from the blank frame by bending back those black tabs. Don't worry, they won't bite. You can use a ruler or flat head screwdriver for this part, failing those a butter knife will do.
Step 2: Clean the glass and place your print in the frame gently.
Clean that glass until it's sparkly and new-looking. Then, gently lay your print face down on the glass. Make sure it's centred and straight. If you're feeling fancy, give it a little wink.
Gently push back a black tab on each side of the frame and quickly check your work. Is it free of dust and other annoying bits? If not be patient keep going until you're sure it's perfect.
Step 3: Secure the backing and feel like a framing superstar.
Once it's immaculate and just how you want it, put the foam core backing in place and bend down all those black tabs to keep it nice and secure. The job is mostly done, just a few little things to tidy up from here.
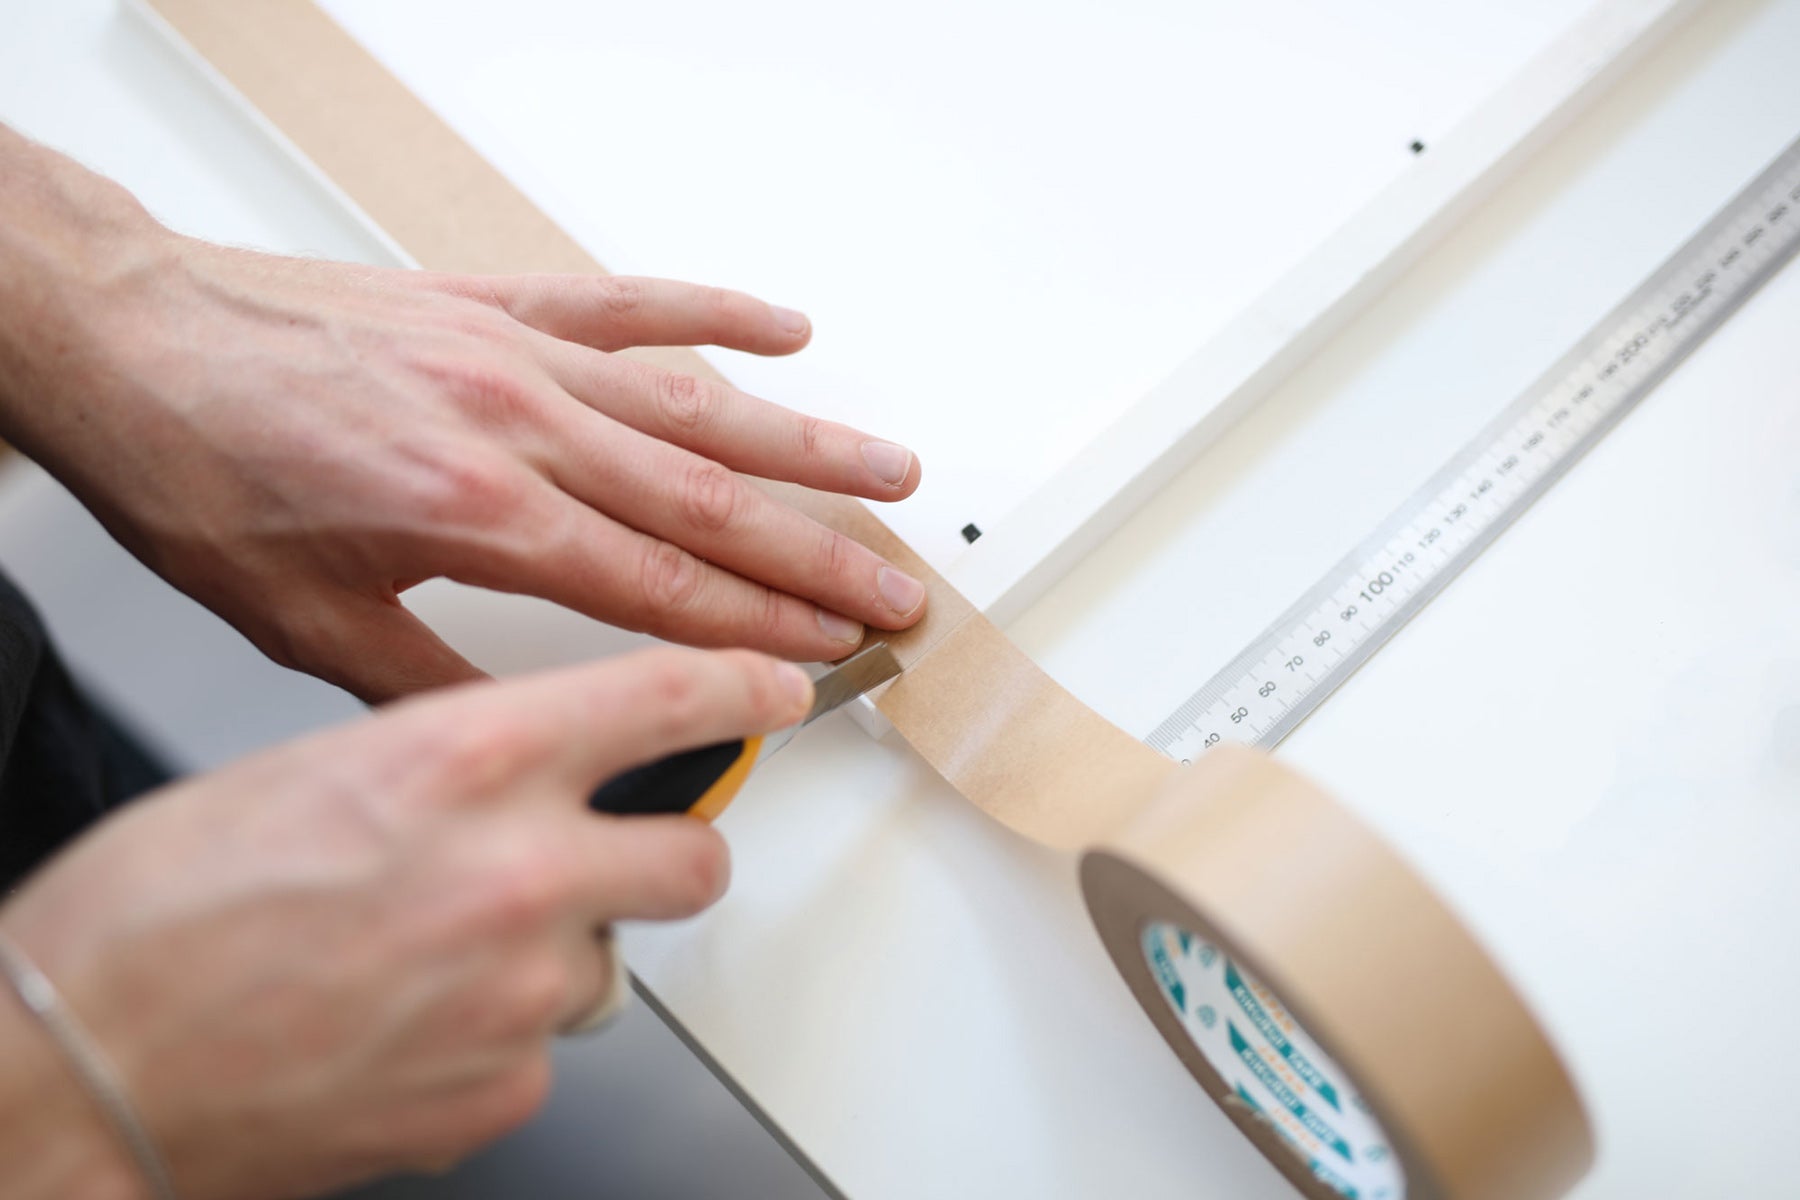
Step 4: (Optional) Tape it up like a boss.
If you're the kind of person who likes to keep things extra safe, use some brown tape to seal the back of the frame. Your print will thank you for it.
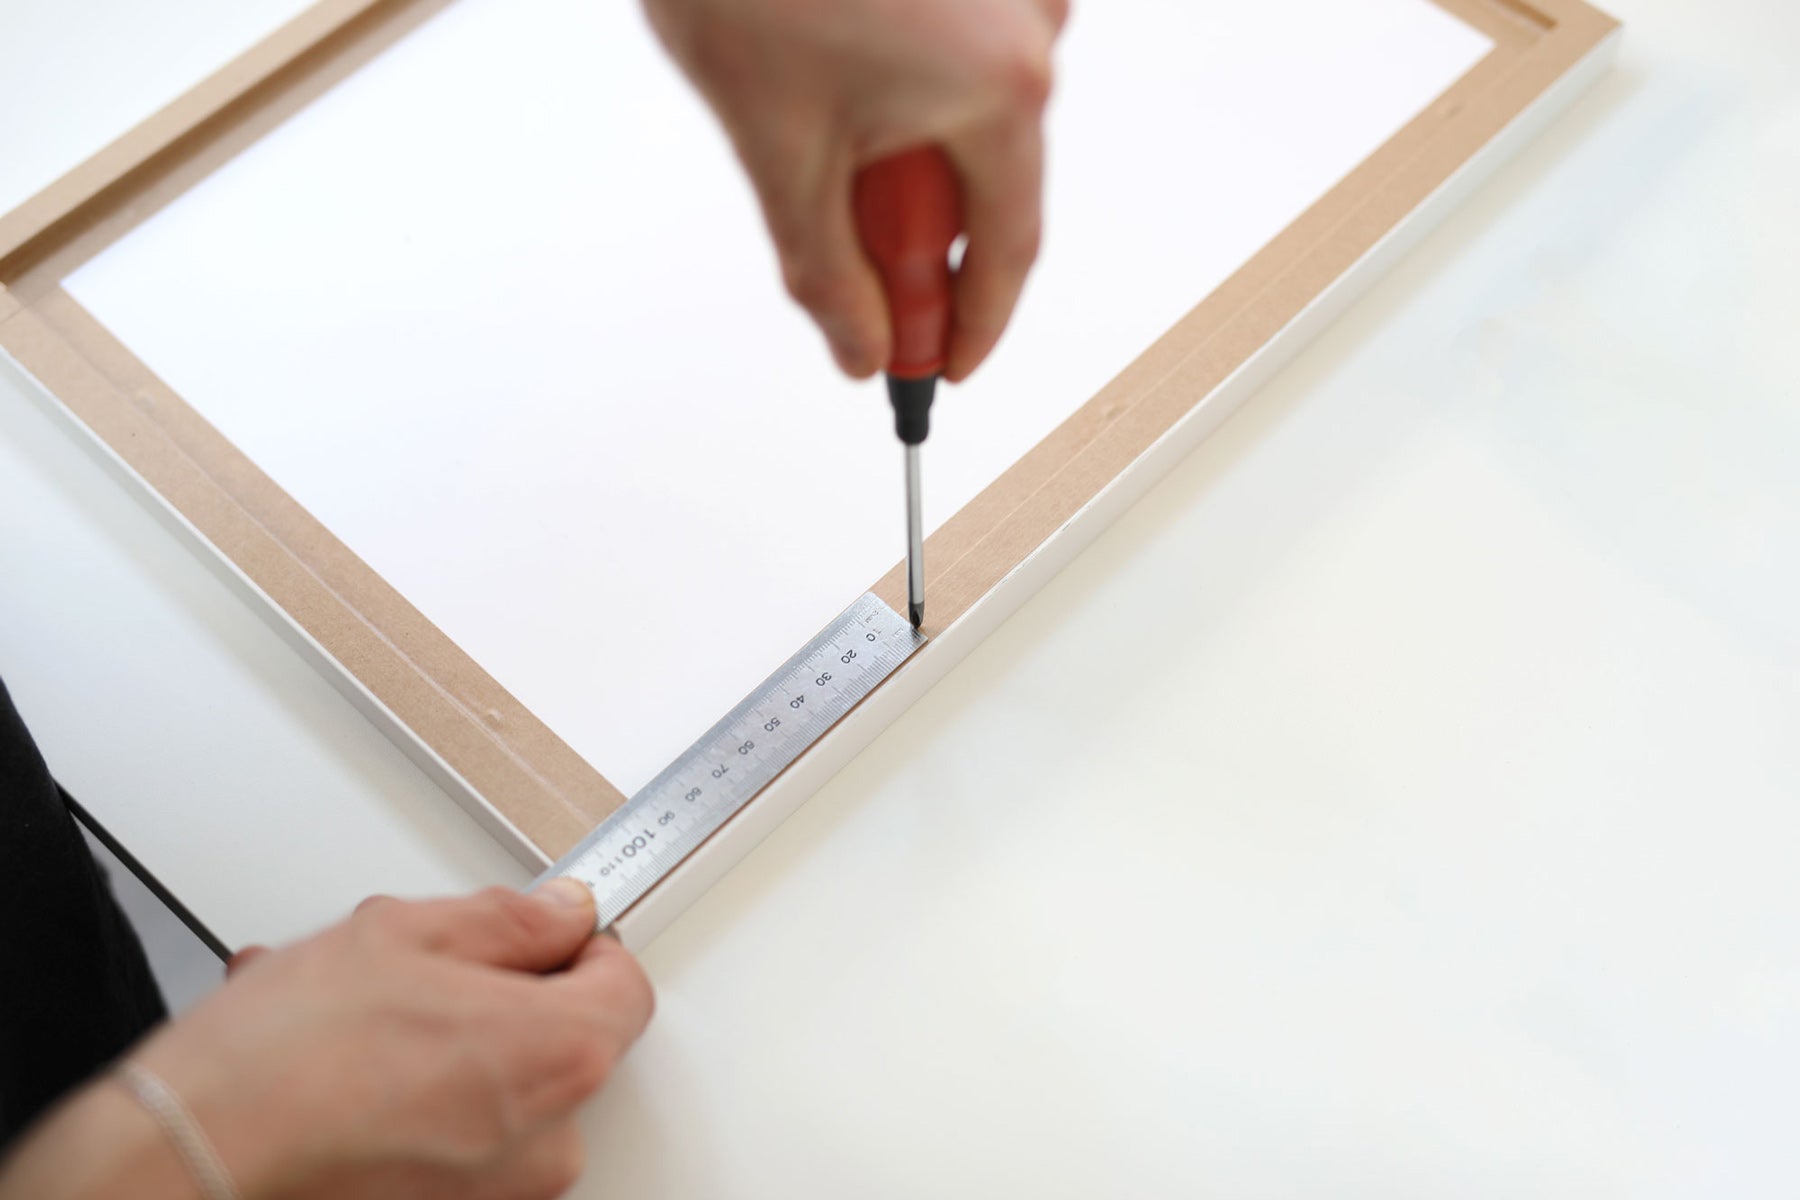
Step 5: Get hardware happy and screw in those D-rings.
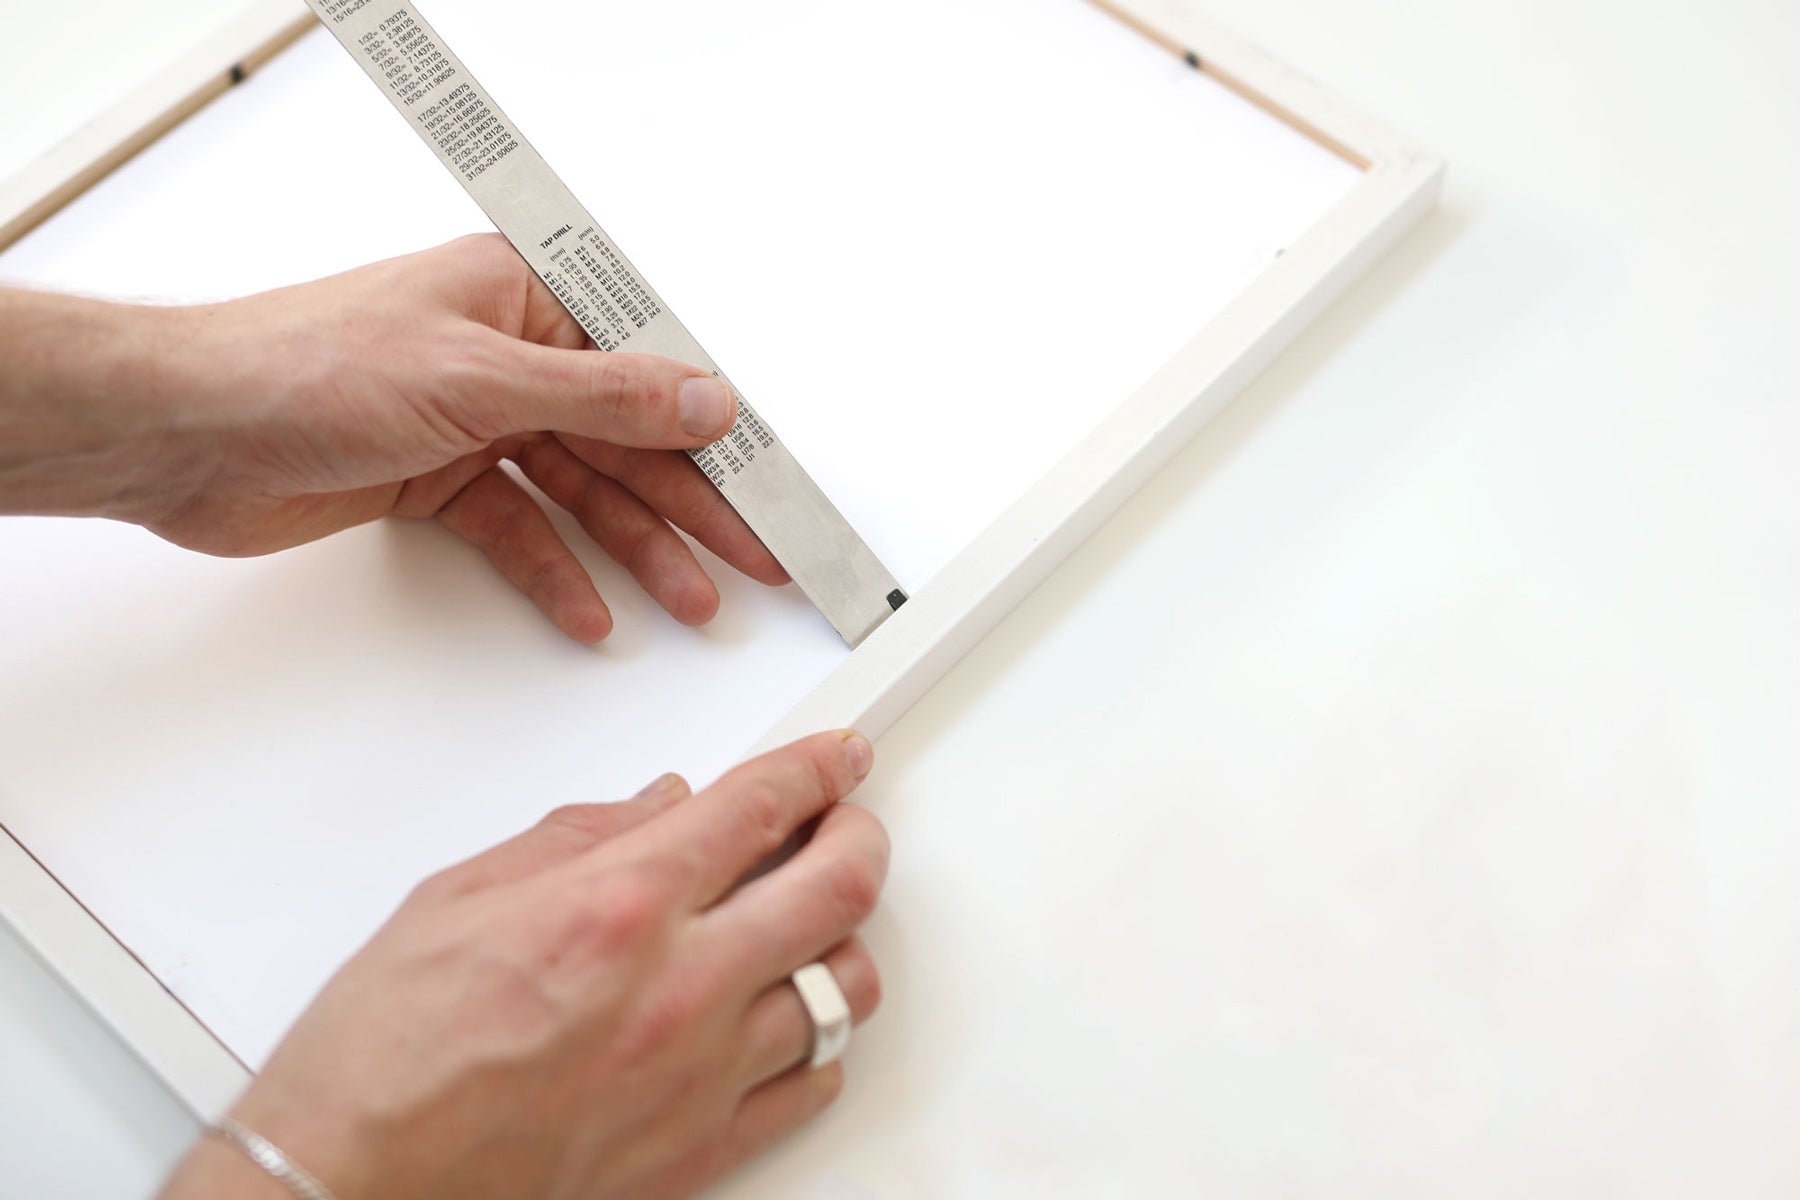
Using the screws and D-rings that come with the framing kit, screw a D-ring onto each side of the back of the frame. The string height guide will tell you where these D-rings need to go on the back of your frame. Make sure they're level and secure.
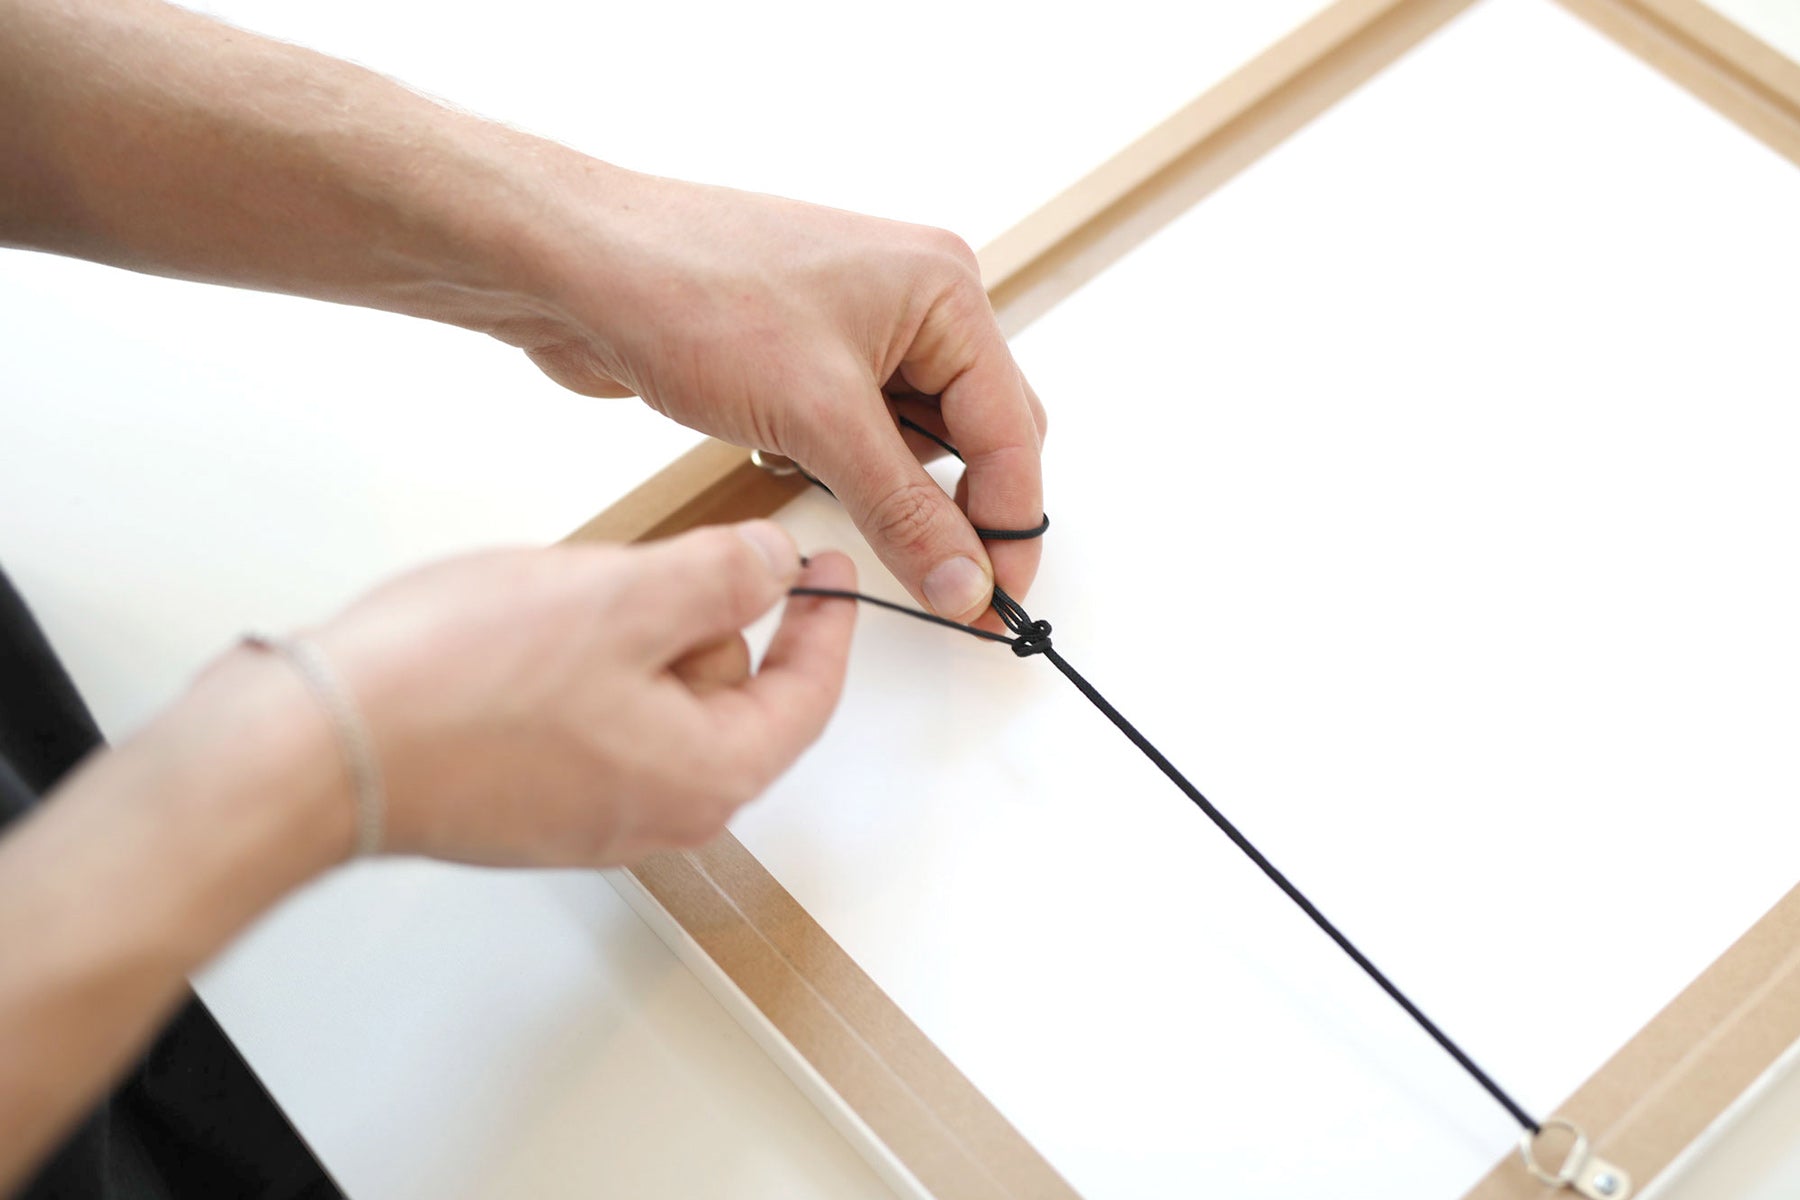
Step 6: String it up like a pro.
Take that string provided in the kit and thread it through each of the D-rings. Tie a triple knot in the string and cut it to size if needed. To keep it tidy, tape the ends of the string together. Give it a little tug to check that knot isn't going anywhere.
Step 7: Sit back, relax, and admire your handiwork.
Congratulations, you did it! Your framed art print is now ready to be hung and admired. It looks so good, well done. Now get to work building that gallery wall of art prints you've always imagined.


